How To Hang a Wall Panel
Wall panels are all the rage. Not only are they a quick way of transforming your home, they turn your walls into a work of art!
Follow our step by step guide about how to hang our striking Hortelano wall panel from our Callista wallpaper range by Clarissa Hulse.

WHO CAN HANG A WALL PANEL?
Our Hortelano wall panel is 140cm in width and is supplied untrimmed. Whilst it is possible to hang yourself, we recommend that it’s hung carefully by a trained professional.
BEFORE HANGING THIS WALL PANEL
Check that all rolls are undamaged and that the numbers and letters are the same for each roll of this design and that all of the colours match. Return any defective roll with its label to the place of purchase.
TAKE CARE
Take extra care when papering around electric light switches and power points. Do not allow mositure to drop onto electrical contacts.
TRIMMING THE EDGES
The wall panel is sold in pieces of 1.4m width by 3m in length. For walls shorter than 3m, the wallpaper will need to be trimmed with a sharp decorating knife during the hanging process.
The panel is also printed with a 2cm overdraw at the edge so trimming will be neccessary.

PREPARE YOUR WALLS
- Remove all traces of dirt, old wallpaper or loose paint.
- Do not hang wallcoverings on any wall with a history of damp.- Fill in any cracks and allow to dry before hanging.
- Absorbent surfaces should be appropriately sized using a diluted wallpaper adhesive.
- Sealed walls, i.e, painted should be rubbed with sandpaper to create a ‘key’.
- It is important that the walls are of an even and consistent colour. If they are not, then consideration should be given to painting them with an appropriate colourwash. Alternatively we recommend that walls should be ‘lined’ horizontally using a good quality lining paper. Allow this to dry fully before starting to apply the wall panel.

1. Adhesive
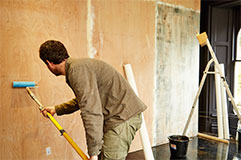
Evenly apply the adhesive directly onto the wall using a brush or a short pile emulsion roller – we recommend using the Style Library wallcovering paste.
2. Begin Hanging
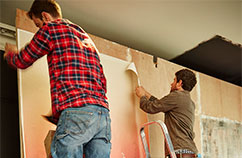
Apply the first section of wallcovering to the wall, smooth down with a good quality hanging brush.
3. Trim
If your wall is shorter than 3m in height, trim either the top or bottom of the wall panel accordingly with a sharp decorators knife.
4. PREP YOUR 2nd PANEL
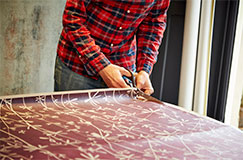
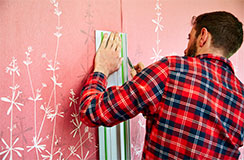
Pre-trim one edge of the next wallpaper panel
5. APPLY MORE ADHESIVE
Apply paste to the next section of the wall.
6. APPLY THE 2nd PANEL
Apply the second panel with the overdraw overlapping, making sure to match the design. Trim either the top or bottom of the panel if neccessary.
7. TRIM THE EDGES
Splice at the join using a sharp decorator’s knife. Carefully lift and remove the trimmed edges.
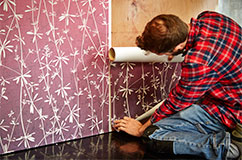
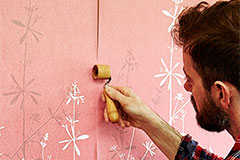
8. JOIN THE EDGES
Smooth down the join with a good quality hanging brush making sure the edges are butted against each other and carefully wipe any excess paste from the face of the paper immediately with a clean damp sponge before it.

